
Photographing the national parks requires some agility and mobility. Whether twelve miles deep in the backcountry of Kings Canyon National Park or on horseback in Bryce Canyon National Park, many of these trips require photographing remote locations where gear needs to be light and versatile. Here is a list of basic gear that I always bring with me wherever I go:
1. Camera body
To get the best photos, a full-frame DSLR or mirrorless camera is a must. We are particularly fond of the Canon ecosystem, but Sony and Nikon are also great options. Though each brand will do it all, in my experience Canon excels in landscape photography while Sony performs well in low light and Nikon is excellent for portraits. I shoot primarily on my Canon R5. It’s not the fanciest, but it gets the job done.
2. Lenses
Lenses are where you want to spend money. While the camera body captures the photo, it is the lens that impacts the quality of that photo. . . . Which makes choosing lenses not so straight-forward. Every artist will have their favorite brush for what they intend to express on the canvas. Lenses are no different. Each photographer has different comfort levels with their particular lenses that give way to their style and interpretation of the subject matter. And it all depends on what you intend to capture.
On my park trips, I want to capture every bit of the experience, from wide sweeping vistas to detailed leaves to distant wildlife. To do so, I pack a wide angle (16–35mm) to shoot vast expanses. If you go much wider than 16mm, you will get extreme lens distortion that is known as a fisheye effect. This choice of lens can be impactful for certain scenes, but should not be your dominant wide angle lens. I also pack a narrow lens (150–600mm) to shoot far-off action such as wildlife or to exaggerate a compressed field of focus within a tight field of view. On occasion, I will also bring a 24–70mm lens to have as a back up option if my dominant lenses do not do the trick. You will want all lenses to have as wide of an aperture as possible to work well in low-light, blue-hour situations (right before sunrise, or after sunset).
A word on prime lenses: A prime lens is any lens that does not zoom. It shoots at a static distance (50mm is a common prime lens). Some photographers will choose to only shoot with prime lenses because it forces a creative limit when shooting, causing the photographer to physically move closer or further from the subject. With less moving mechanical parts, it also has the tendency to produce sharper focus and often allows for wider apertures. However, when it comes to national park photography, I’ve come to value zoom lenses for their versatility. For instance, many of the activities in the parks (horseback riding, kayaking, flightseeing, etc.) do not accommodate extra bags or gear, making zoom lenses worth their salt. Also, if you do not have a second camera body, you will not want to be continually changing prime lenses throughout your visit and risk missing the magical moments.
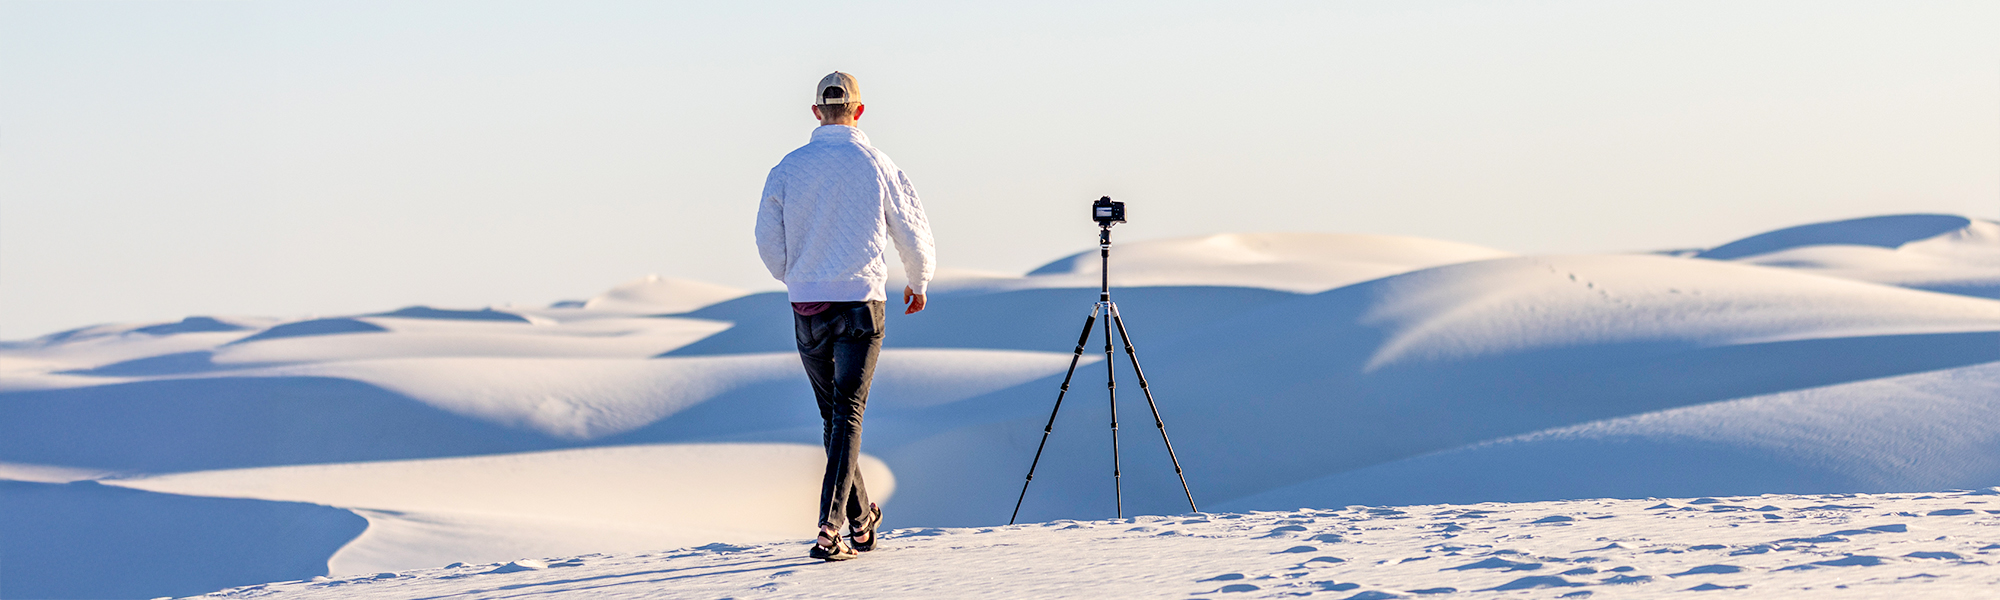
3. Tripod
I do not always carry a tripod along on every activity within a trip, but they can certainly be helpful in specific scenarios. While tripods are cumbersome to travel with, they allow for the needed stability in low-light, slow-shutter situations. Maybe you want to capture the Milky Way over the Grand Canyon or the trickle of a waterfall in the Smoky Mountains. You will need to slow down your shutter speed significantly. As a general rule of thumb, I will always use a tripod or some stabilization tool if my shutter speed is slower than 1/125 sec. Most hands are not steady enough to hold the camera absolutely still at slower speeds so you will be glad you carried that tripod with you.
4. Secondary Camera
While I do not rely heavily on my GoPro, it does come in handy as a secondary camera. Perhaps I am shooting a sunrise and I really want a timelapse, but I don’t want to tie up the DSLR for the duration of the sunrise. A secondary camera helps take that pressure off. Or maybe we have a tight zoom lens on our DSLR but we want to capture a quick wide angle composition. Again, a secondary camera helps. Or consider the number of parks where water is the primary attraction (Biscayne National Park, Dry Tortugas National Park, Virgin Islands National Park, et al.). Some sort of waterproof camera is ideal for capturing the underwater essence of these parks. Secondary cameras are never necessary, but they do allow more room for creative expression.
5. Batteries & Memory
It is always good to have at least two batteries at all times for each of your cameras. There is nothing worse than having a dead battery when a winning shot finally presents itself. The same goes for memory. You do not want to frantically delete photos to capture a new fleeting moment. I have found that a 128GB SD card is plenty for an entire trip of photos. You may find as you grow in skill, you are taking less test photography and more winning shots thus not using as much memory, but until that moment it never hurts to have more than enough memory because shooting with plenty of memory allows you to experiment with shots and angles you may not normally attempt, and these shots may just become your favorite.
6. Bag
Lastly, because this gear can be heavy or klunky over miles of trails, consider investing in a gear bag. In my frugality, I use small hiking daypacks, but there are specific bags for camera gear which may suit your needs. Find something that is lightweight, fits well, and can carry at least the basic gear in this list.
Looking for more free tips?
Best sunsets? Epic hikes? More wildlife? Sign up for my ParkQuest newsletter and travel like a pro.


